SMA Strategy [MK]Overview
This strategy is a momentum-based trend-following system designed to capture sustained market moves while minimizing "whipsaws" often found in sideways markets. It utilizes a dual-SMA filter for trend direction, a precise price-crossover trigger for entry, and the Average Directional Index (ADX) to gauge market strength.
How It Works
The strategy follows a strict "Trend + Momentum + Strength" hierarchy:
1. Trend Identification (The Filter) The script uses a Fast SMA (20) and a Slow SMA (50).
Long Bias: SMA-20 > SMA-50.
Short Bias: SMA-20 < SMA-50.
2. Precise Entry (The Trigger) Unlike strategies that enter simply because the price is above a line, this script requires a Price Crossover.
Long Entry: Price must actively cross from below to above the SMA-20.
Short Entry: Price must actively cross from above to below the SMA-20.
3. Trend Strength (The ADX Gatekeeper) To solve the problem of sideways markets where moving averages run parallel, we’ve integrated the ADX (Average Directional Index). The strategy will only trigger a trade if the ADX is above a user-defined threshold (default is 25), ensuring we only enter when the market is trending.
4. RSI Safety Filter To prevent "buying the top" or "selling the bottom," the RSI checks for overextended conditions. It prevents long entries if the RSI is already overbought and short entries if it is oversold.
Exit Logic
The strategy features three layers of protection:
Trend Reversal Exit: Closes the position if the price crosses back over the SMA-20 while the macro trend (SMA-20/SMA-50) has flipped.
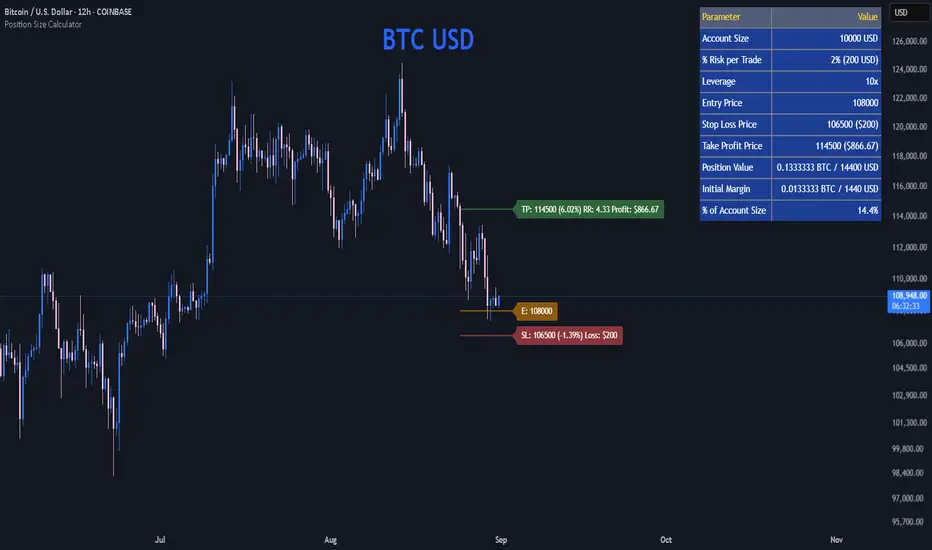
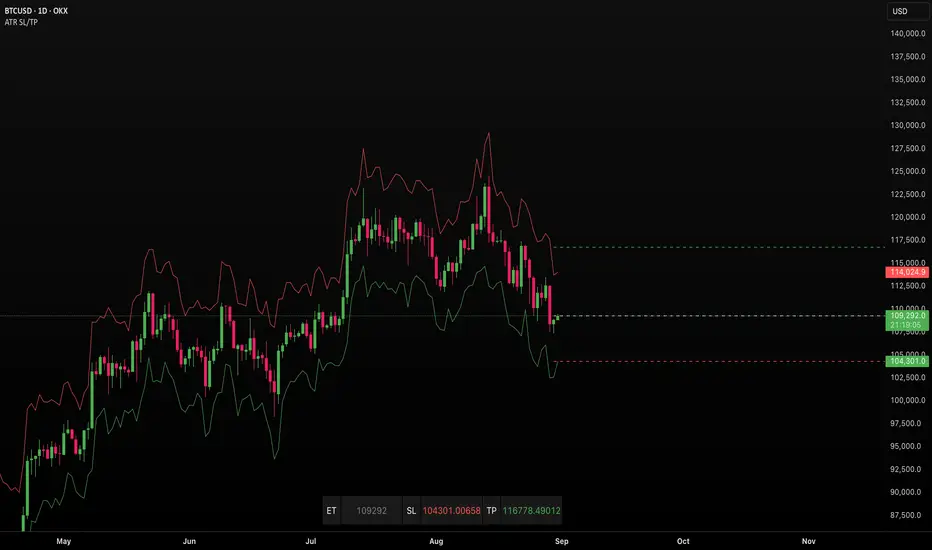
Fixed Take Profit: A percentage-based target to lock in gains during sharp moves.
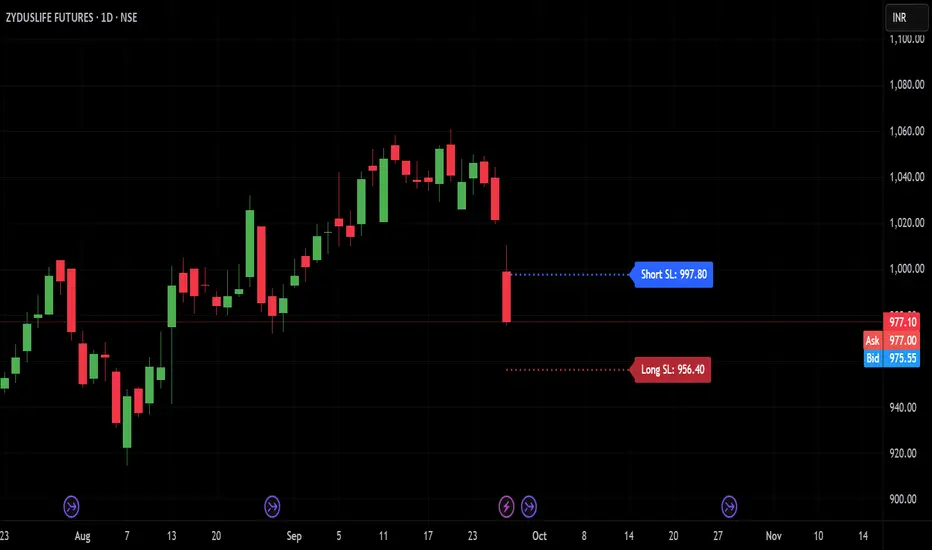
Fixed Stop Loss: A percentage-based safety net to protect capital.
Key Features
Directional Selector: Choose between "Long Only," "Short Only," or "Both."
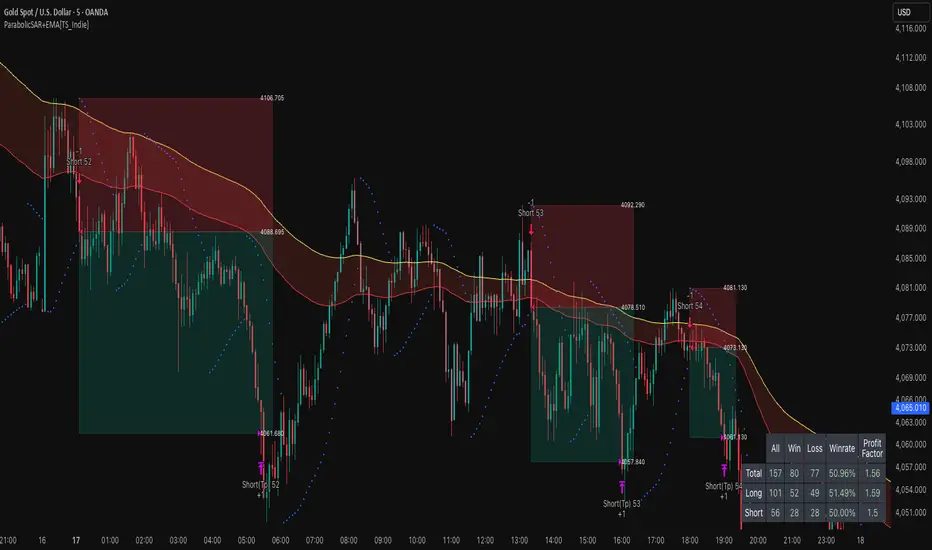
Visual Feedback: Background colors highlight "Trending" (Green) vs "Sideways" (Red) market regimes.
Fully Customizable: All lengths and thresholds for SMAs, RSI, and ADX can be adjusted to fit different assets and timeframes.
Instructions for Use
Timeframe: This strategy is optimized for trending timeframes such as the 1-Hour (1H), 4-Hour (4H), or Daily (D). Using it on very low timeframes (1-minute or 5-minute) may increase the number of false signals due to market noise.
Asset Classes: Best suited for high-volume assets like Major Forex Pairs, Large-Cap Stocks, and Blue-Chip Cryptocurrencies.
Parameter Tuning: Use the "Strategy Tester" to find the ideal ADX Threshold for your specific asset. Volatile assets usually require a higher ADX (30+) to filter out fake breakouts.
Disclaimer
Financial Risk Warning: The script provided is for educational and informational purposes only. Trading involves significant risk, and there is always the potential for loss. Past performance, whether simulated or real, is not a guarantee of future results.
The author of this script is not a financial advisor. This indicator is not a signal service or a recommendation to buy or sell any security. Always perform your own due diligence and test any strategy thoroughly on a demo account before risking live capital. By using this script, you acknowledge that you are solely responsible for your trading decisions and any resulting financial outcomes.
استراتيجية Pine Script®