أداة Pine Screenerمن TradingView: الميزات والمتطلبات الرئيسية
Pine Screener هي أداة لمسح قوائم المراقبة الخاصة بك باستخدام نصوص Pine. باستخدامه، يمكنك مسح الرموز الخاصة بالتداول والاستثمار ومقارنتها والعثور عليها بسرعة.
المحتويات:
ما هو Pine Screener
تم تصميم Pine Screener لإعطائك نظرة عامة على السوق وتقديم مقارنة الرموز. لاستخدامها إلى أقصى إمكاناتها، نوصيك بتعلم كيفية استخدام قوائم المراقبة.
بعد إنشاء قوائم مراقبة الرموز المخصصة، ستتمكن بعد ذلك من مسح الأصول والمقاييس المالية في قوائم المراقبة باستخدام Screener. يتيح لك ذلك العثور على أصول واعدة للتداول وإدراجها في محفظة التداول والاستثمار الخاصة بك.
يمكنك العمل مع مجموعة كاملة من الرموز بغض النظر عن نوع الرمز. يمكن لـ Pine Screener مسح قائمة مراقبة كاملة تحتوي على الأسهم ورموز العملات الرقمية والسندات والأصول الأخرى.
الميزات الرئيسية لفاحص Pine
جميع قوائم المراقبة الخاصة بك متاحة لك كمصدر للرموز للعمل في جهاز الفحص: يمكن أن يكونوا:
كمؤشر للبحث عن الرموز التي تهمك، يمكنك استخدام أي مؤشرات من مفضلاتك. يمكن أن تشمل هذه:
- نص Pine الشخصي الخاص بك
- مؤشرات فنية مدمجة
- مؤشرات المجتمع من المكتبة العامة
بعد تطبيق الفلاتر، ستكون النتيجة مجموعة من الرموز المقابلة لمعلمات التصفية المحددة.
يمكنك أيضًا تحليل قيم رسومات دراساتك لكل رمز في الجدول وفرز القيم حسب الرسم المحدد.
كيفية استخدام Pine Screener
جهاز Pine Screenerمتاح من خلال قائمة المنتجات. من الصفحة الرئيسية، انتقل إلى «المنتجات»، ثم اختر «Screeners» وحدد «Pine».

باختصار، للعمل مع Pine Screener:
- حدد قائمة المراقبة
- حدد المؤشر
- قم بتعيين معايير التصفية للمؤشر المحدد
- المسح

اختيار قائمة المراقبة
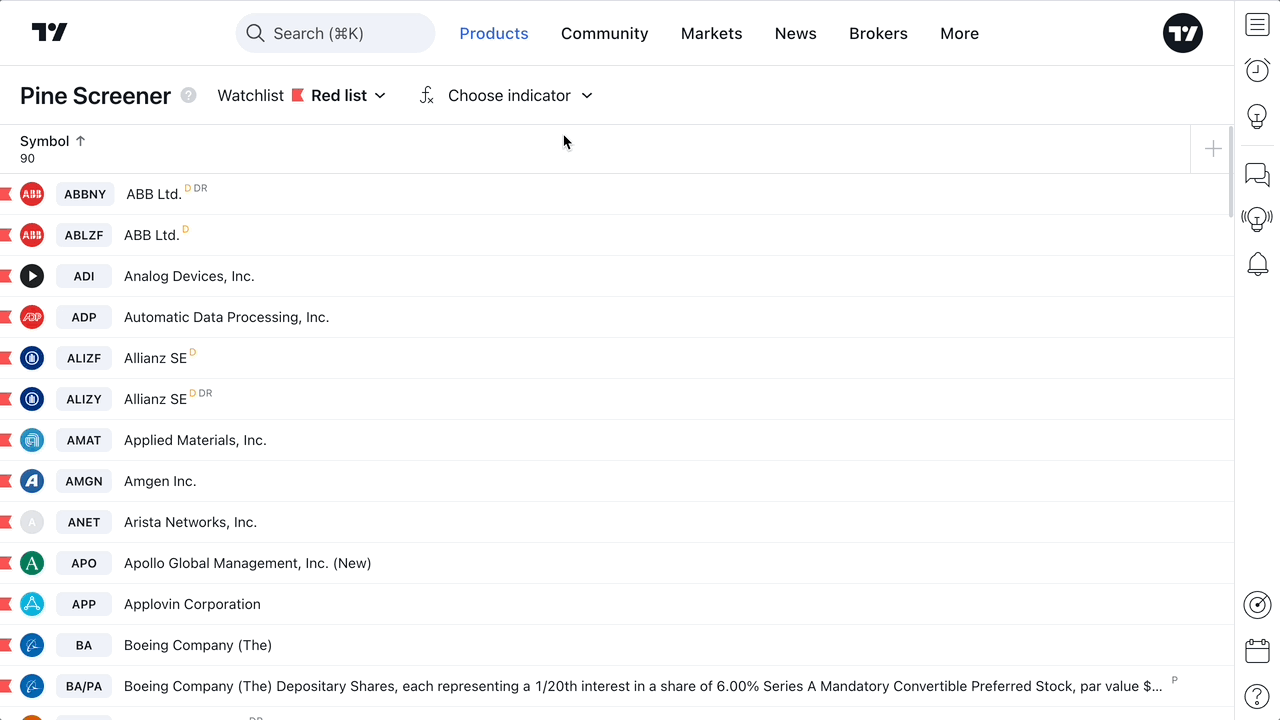
افتراضيًا، سيتم فتح صفحة المنتج بقائمة المراقبة التي تستخدمها حاليًا في اللوحة اليمنى. ولكن يمكنك تحديد أي من قوائم المراقبة المخصصة والمنسقة.
إذا كانت القائمة المحددة تحتوي على رموز، فسيتم تحميل الجدول الذي يحتوي عليها جميعًا على الفور.

اختيار مؤشر
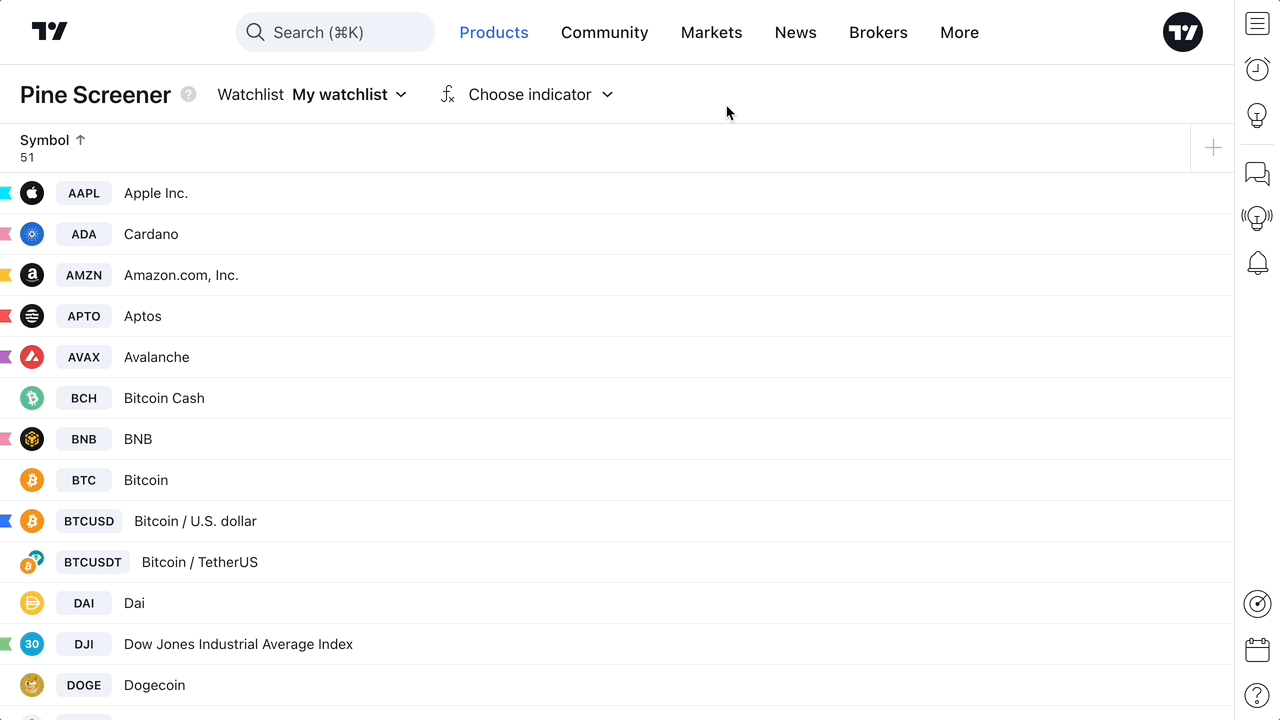
افتراضيًا، ليس لديك أي نص برمجي محدد. يمكنك اختيار برنامج نصي للمسح الضوئي في القائمة من القائمة المنسدلة للمؤشر.
! ملاحظة: يمكنك فقط استخدام المؤشرات الموجودة في مفضلاتك! إذا لم تجد مؤشرًا في قائمة مؤشر Pine Screener، فارجع إلى Supercharts وتحقق مما إذا كان هذا المؤشر في المفضلة لديك.
بعد تحديد المؤشر، يتم تحميله في الحالة الافتراضية باستخدام:
- مدخلات الدراسات الافتراضية
- فترة زمنية افتراضية مدتها يوم واحد
يمكن تغيير إعدادات الدراسات والفترات الزمنية في القائمة المنسدلة للمؤشر.

عند تحميل المؤشر المحدد، يتم تطبيق الشروط التالية:
- تتم إضافة الرسومات العشرة الأولى لتكوين المرشح اللاحق
- تتم إضافة هذه الرسومات إلى الجدول كأعمدة
- تمت إضافة شرطين للتنبيه من البرنامج النصي
- - سيظهر خيار إضافة فلاتر أو أعمدة إضافية؛
- سيظهر زر «المسح»

إعداد الترشيح
باعتبارها «فارغة» للفلاتر، يمكنك استخدام كل من الرسومات وشروط التنبيه. يمكنك اختيارها في عمود الأدوات العلوي عند تشغيل البرنامج النصي.
كفلاتر، يمكنك استخدام:
- رسومات المؤشرات
- - شروط تنبيه المؤشر

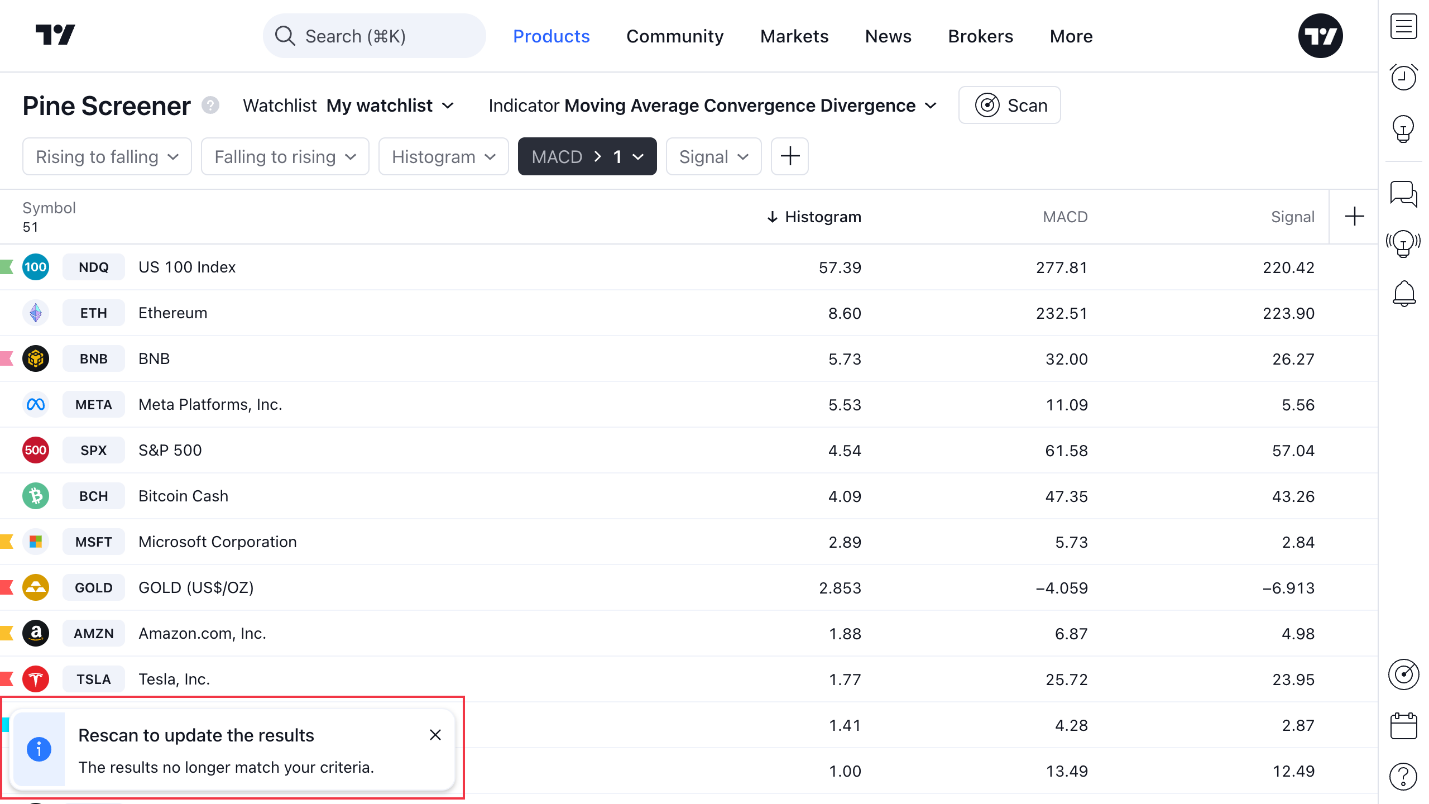
إذا كنت ترغب في استخدام رسم المؤشر كمرشح، فأنت بحاجة إلى تعيين الشرط والقيمة المستهدفة للفلتر:

المسح
يمكنك المسح بعد اختيار المؤشر.
عند بدء التشغيل، سترى عمود المسح. عند اكتماله، سيظهر عمود تحديث يحتوي على إحصائيات. بعد ذلك يمكنك العمل مع الجدول.

يجب إعادة تشغيل الفحص إذا قمت، بعد الفحص السابق، بتغيير أحد الإجراءات التالية:
- قائمة المراقبة
- دراسات
- مدخلات الدراسات الحالية
- الإطار الزمني للدراسات
- مجموعة الفلاتر

متطلبات Pine Screener
- يمكنك استخدام مؤشر واحد فقط لكل فلتر
- يجب أن ينتج المؤشر قطعة أرض واحدة أو حالة تنبيه واحدة على الأقل من plot() أو alertcondition() الوظائف التي سيتم استخدامها كمرشحات للفحص
- يمكن استخدام رسومات المؤشر المحدد فقط كأعمدة.
- ميزة مؤشر على المؤشر غيرمدعومة
- الأطر الزمنية المخصصة غير مدعومة. الأطر الزمنية المدعومة هي: الدقائق (1، 5، 15، 30)، الساعات (1، 2، 4)، يوم واحد، أسبوع واحد، وشهر واحد
- يدعم Pine Screener جميع وظائف `request.* () `، مع القيود التالية:
- - لا يمكن استخدام أكثر من خمس مكالمات منفصلة من نوع «request.* ()» داخل النص الممسوح ضوئيًا.
- - يجب أن يكون الإطار الزمني المطلوب في قائمة الأطر الزمنية المدعومة. معرفات سلسلة Pine الصالحة لهذه الأطر الزمنية هي: «1" و «5" و «15" و «30" و «60" و «120" و «240" و «1D» و «1W» و «1M».
- يمكنك مسح فلتر واحدة فقط في كل مرة: إذا كان لديك بالفعل فحص قيد التشغيل في علامة تبويب واحدة، فلن تتمكن علامة تبويب متصفح أخرى من إجراء فحص آخر.
- يدعم Pine Screener معظم وظائف الإدخال.* () ويسمح لك بتغيير القيم في هذه المدخلات عبر مربع حوار «الإعدادات». لا يتم دعم الوظائف التالية: input.timeframe()،input.symbol() ،input.time() . إذا كان النص البرمجي يستخدم وظائف الإدخال هذه، فإن Pine Screener يتجاهل قيمة الإدخال التي يحددها المستخدم، ويستخدم قيمته الافتراضية بدلاً من ذلك.
- يقوم المؤشر بإجراء العمليات الحسابية على آخر 500 من الأعمدة فقط على الرسم البياني.
- استخدام شروط التنبيه المخصصة غير متوافق مع النصوص البرمجية لإصدارات Pine 3 والإصدارات السابقة. يوصى باستخدام البرامج النصية لـ Pine v4 والإصدارات الأحدث.
الخط السفلي
Pine Screener هي أداة شاملة لفرز الرموز الخاصة بك قبل البدء في التحليل الأضيق لها.
يمكنك استخدامه مع أدوات TradingView الأخرى للتحليل الفني والأساسي والوصول إليها من Supercharts الخاصة بك.
إذا كانت لديك مؤشراتك المخصصة التي تم إنشاؤها باستخدام Pine Script®، فيمكنك تضمينها في أداة الفحص ومعرفة كيف تبدو أصولك المفضلة من منظور وجهة نظر التداول الفريدة الخاصة بك.
اقرأ أيضًا:
- كيفية محاكاة التداول باستخدام الرافعة المالية في Pine Script
- قواعد نشر النصوص البرمجية
- مؤشرات TradingView: خطوات بسيطة للبدء
- كيفية التداول على TradingView
- تداول الورق مع TradingView - الوظائف والأدوات الأساسية