Price Levels ConstructorHello friends,
This is a multi-period OHLC level mapping tool that lets you build your own higher-timeframe levels directly on the chart - across up to 20 customizable period slots.
You choose which periods matter (Year, Half-Year, Quarter, Month, Week, Day, weekdays, etc.), how recent they should be, and which levels to show (Open/High/Mid/Low/Close).
The script then renders those levels with automatic stacking and clear label formatting, giving you a compact higher-timeframe map for intraday and swing trading.
🛠️ How It Works
Each selected period slot creates a period model with its own OHLC+Mid data.
For each active level type, the script draws the price level, tracks the correct H/L/C timestamps when needed, and generates a label consisting of:
The selected recency (Current, Previous, 2nd Previous, …)
The period name (e.g., Month, Q1, Monday)
The level type (O/H/Mid/L/C)
All levels are fed into a registry that merges levels at identical prices, stacks their labels vertically or horizontally, and displays only one rendered line per price with combined label text.
This produces clean clusters when multiple periods share the same level.
Global settings control left/right extensions, label compactness, label content (name, price, % distance), and stacking direction.
🔥 Key Features
20 period slots
Ability to specify period (31 options, from Year to various weekdays)
Ability to specify recency for each selected period (13 options)
5 levels (Open, High, Mid, Low, Close) for each selected period
Stacking of labels of matching levels
% from All-Time High (ATH)
% from All-Time Low (ATL)
Alerts
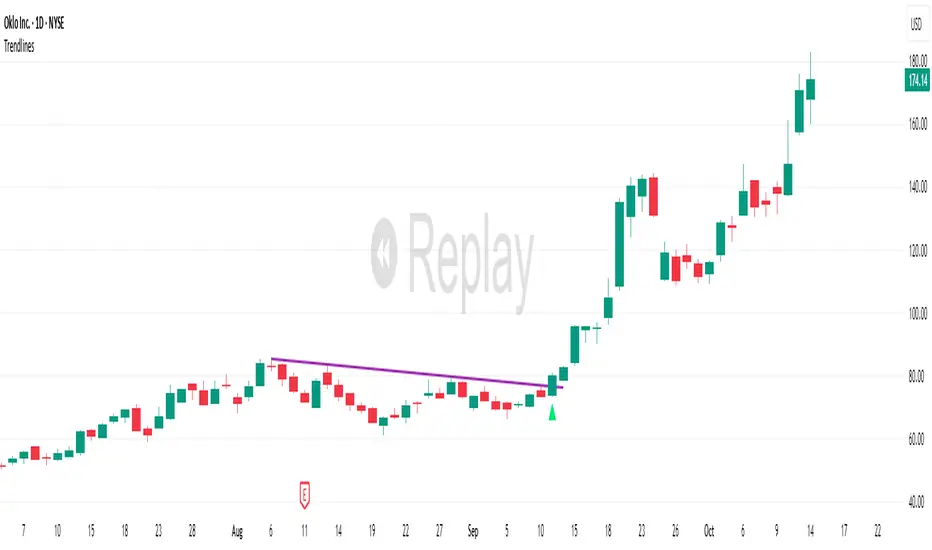
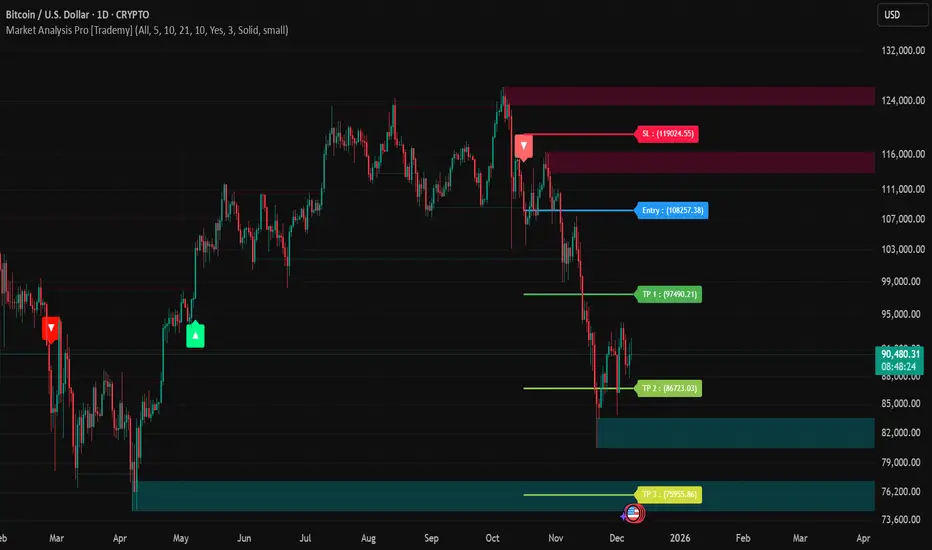
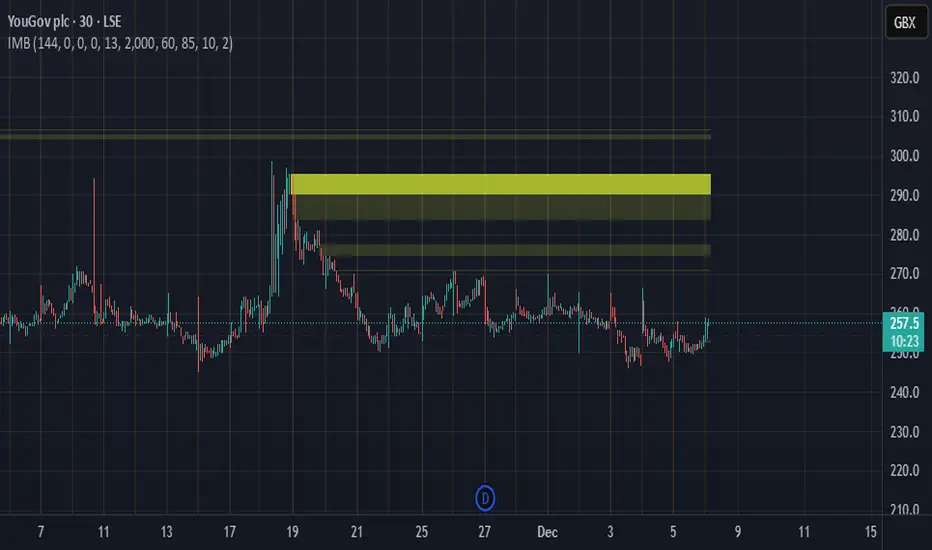
📸 Visual Examples
The percentages in the level labels make it easy to see the current performance relative to that level
Labels with full level names
Compact labels with vertical stacking
Compact labels with horizontal stacking
👋 Good luck and happy trading!
Paid script